I like to get out and photograph the sky at night. Living near Wellington at the bottom of the North Island of New Zealand there are a number of spots nearby that have low light pollution and subsequently very dark skies which helps when photographing features like the milky way and the occasional aurora australis display. Astrophotography is however very dependant on the weather so it’s nice to have another night time photography target and for me that is the titiwai or glowworm.
The glowworm (Arachnocampa luminosa) isn’t actually a worm but rather the larvae form of a gnat. Found in damp areas like caves and under banks in forests the glowworm produces strings of sticky silk to snare food which is attracted to the luminescence.
Effectively photographing glowworms is difficult and I’m still learning. There are a few photographers who have mastered the art, for instance check out Jordan Postes award winning timelapse for what can be achieved. The main things required to enable glowworm photography are:
- An abundance of glowworms in a readily accessible dark space
- A photographic device (DSLR/Mirrorless preferred rather than your phone)
- A steady platform for the photographic device
- A timer of some kind (I use the stop watch function on my watch or phone)
- Lots of time and patience
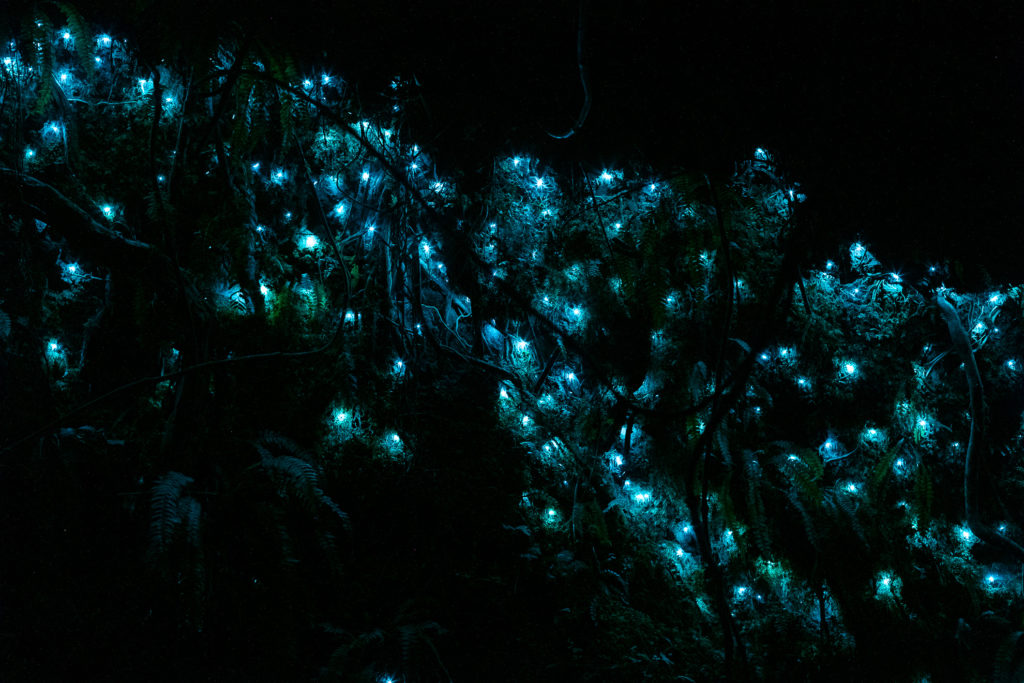
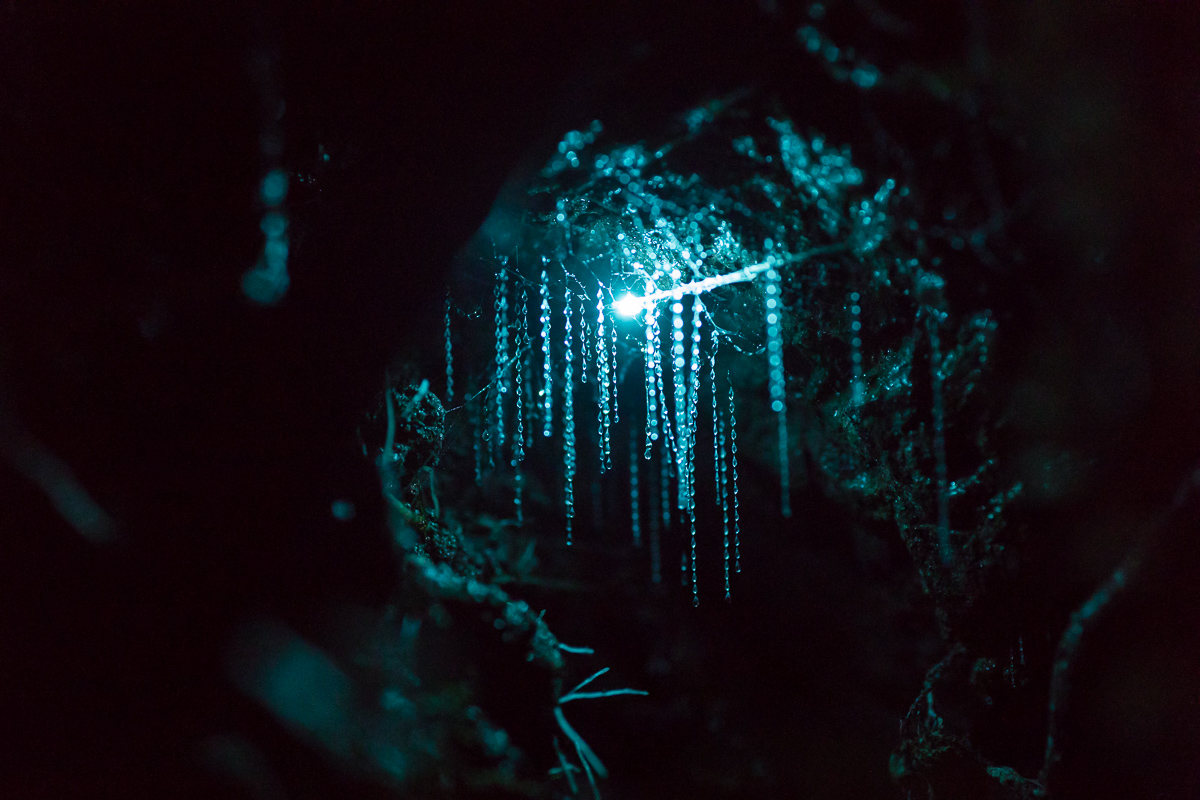
50mm, F4, ISO 3200, 312 seconds
The above image was shot in Wellington in early 2019 at in a forested area with the glowworms covering a bank near a stream. I used a Canon 5D mark IV DSLR with a 50mm lens. The camera was in bulb mode and using a cable release the shutter was open for just over 5 minutes with an aperture of F4 and ISO set at 3200. For a shot like this a tripod is a must to keep the camera steady and the cable release (or if you have one a remote wifi/bluetooth release or even better some sort of timer available on your camera) enables long exposure times. It’s hard to keep a camera steady if you have to hold down the shutter button manually, even mounted on a tripod.
I think the key with any glowworm photo is to fill the frame as much as possible and that’s why with the above shot I used a 50mm lens instead of something wider. The issue I have with the above photo is the lack of details around the glowworms, it’s hard to make out the foliage so it’s just a photo of lights. I need to experiment more with additional light sources to fill in that detail (for instance Jordan used bikes lights enclosed in old socks to provide a very dim fill light).
90mm Macro, F11, ISO 3200, 165 seconds
Moving in closer the above image was taken with the same camera but this time using a 90mm Tamron macro lens with settings of 165 seconds (2 3/4 minutes), F11 and ISO 3200. Getting in closer enables more detail such as the hanging lures nicely lit by the light of the glowworm. It also illustrates why filling the frame can be needed, here the photo has large areas of blackness due to the low light available. Also illustrated is the motion blur bought on by breezes near the lures and the long exposure time – if there is any sort of air movement then sharp close-up photos become very difficult to achieve. Compare with the photo below which was taken closer to the glowworm (filling the frame) and on a still night.
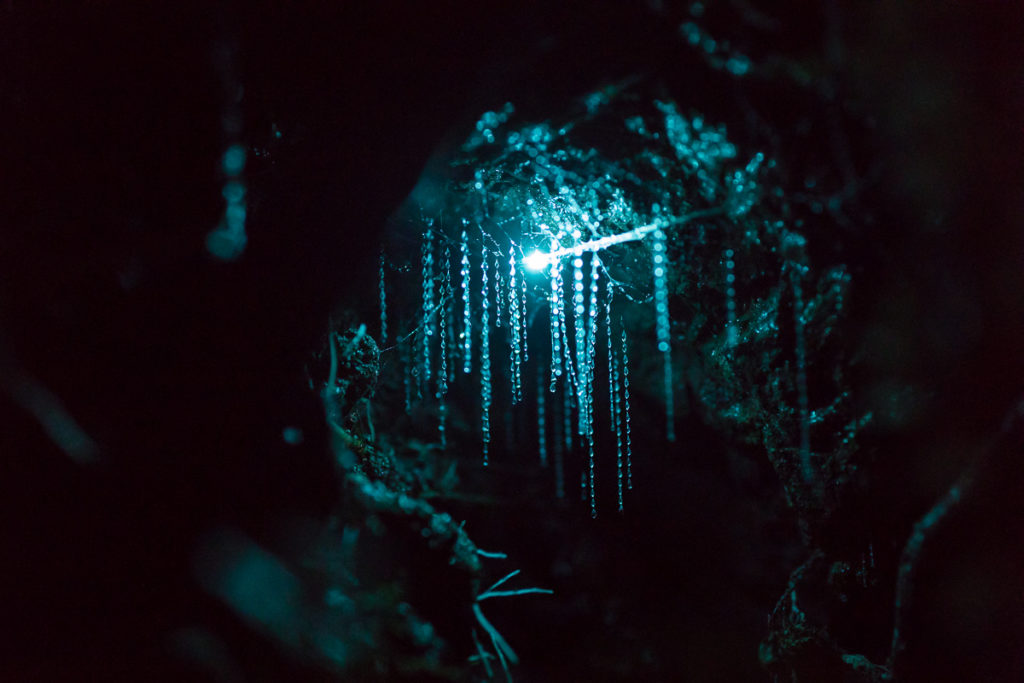
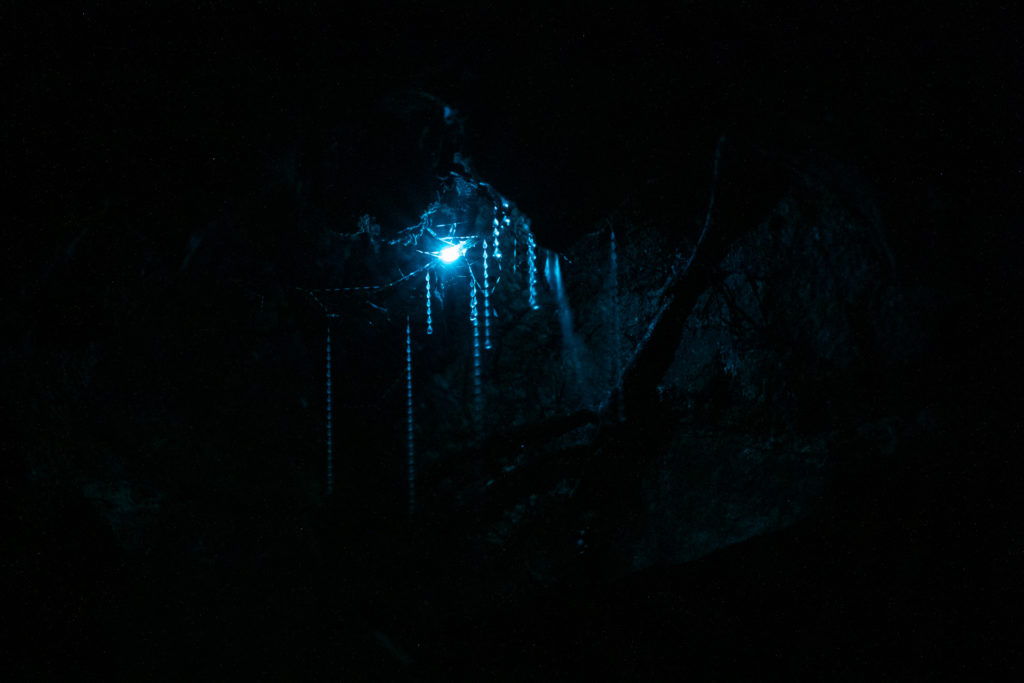
90mm macro, F4, ISO 6400, 110 seconds
The next considerations involve the use of camera settings to enable depth of field, shutter time and ISO. The closer we are to our subject the narrower the depth of field will be. In the first image the camera was about 2 meters away from the glowworms and an aperture of F4 was fine for having everything in focus. In the 3rd image where the individual glowworm was only cms away from the end of the lens F4 was enough to have the glowworm and the immediate surrounding lures in focus but much of the foreground and background is out of focus. I think in the third image the depth of field is good with the important focus points (glowworm, lures) sharp and the location details soft. There is a sense of place without too many distracting other elements.
Shutter time is directly related to ISO and influenced by the required depth of field. The wider the shutter (lower F-stop) the more light we get but the smaller the depth of field. ISO increases give increased sensitivity to light but also more potential noise and a loss of dynamic range in the resultant image. You can see that the second image above is dimmer than the third and this is because of the smaller aperture (F11 vs F4, around a quarter of the light let in), lower ISO (3200 vs 6400, 50% less sensitivity) and only slightly increased exposure time (165 vs 110 seconds, only 33% more exposure time). The actual required exposure time depends on many different factors not the least of which is personal preference. Basically there isn’t a one-size-fits-all answer other than taking a number of different shots and figuring out what suits best. There are also considerations around the camera being used and its performance at high ISO/long exposure times.
Personally with a Canon camera like the 5D mark IV I think higher ISO (i.e. 6400 or even 10000) is better than longer exposure times as there will be less sensor generated hotspot noise and it can be easier to deal with random ISO noise later. Cameras with better dynamic range such as higher end Nikon and Sony models may also be the same. It’s also best to save photos in RAW rather than JPG to enable easy colour balance correction and record more dynamic range detail again to assist with any post processing such as noise reduction.
One other thing that can help is to scout the location during the day to find potentially interesting compositions and also to help visualise things such as the depth of field that will be required. As in the image below we can see that F8 gives a decent amount of in-focus threads so could look OK at night though this will be very dependant on where the actual light source (the glowworm) is located.
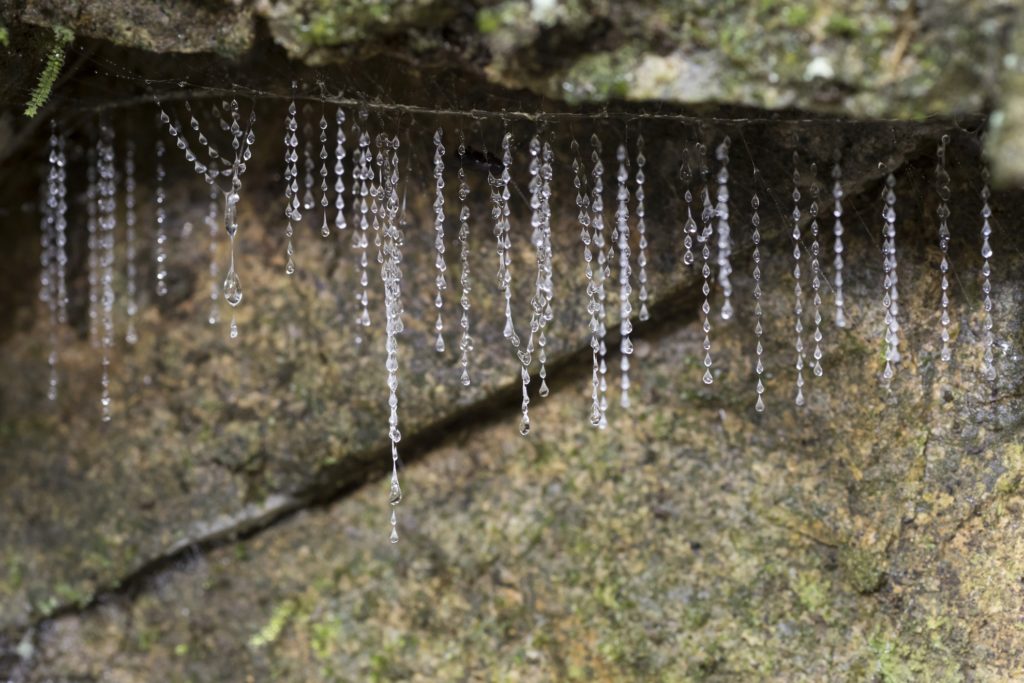
90mm macro, F8, ISO 3200, 1/6 second
All of the photos in this article were taken at the Zealandia sanctuary in Wellington, New Zealand. It’s worth noting that the general public doesn’t have photographic access to Zealandia at night. Other locations for photographing glowworms in Wellington that will be accessible are Otari-Wilton Bush and the Botanical Gardens.
Finally when heading out to take photographs at nights its good to take a friend and let other people know here you’re going. Having someone to talk to can make the time in the dark pass more quickly and its also safer.